The Trees at Peace in Honkai Star Rail is an Adventure Mission that can be unlocked after reaching Trailblaze Level 34. The mission unfolds in Dream’s Edge (Penacony) after you have cleared preceding missions– Whodunit, Crown of the Mundane, and Divine Quests.
The mission revolves around Dr. Chadwick and his memories related to a scientific experiment. To ace the Trees at Peace Mission, you have to dig through the Emoscape of Chadwick and fix his Emo Dial.
On This Page
How to Complete The Trees at Peace Mission in Honkai Star Rail
To begin the mission, you need to start off by teleporting to Dream’s Edge. Soon after getting involved in this mission, you will be actively assisted by Screwllum. His negotiation skills will help you overcome challenges at a much quicker rate.
1. Interaction with Chadwick and Clockie

- Reach Dream’s Edge with the aid of The Family’s Construction Authority.
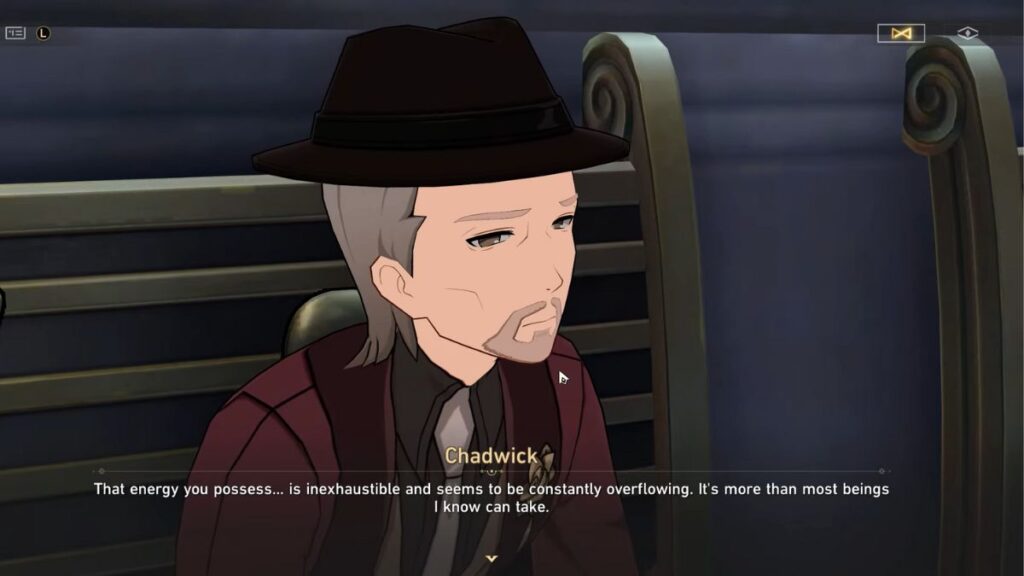
- Head straight and you will spot an old man seated on a bench, this is Chadwick.
- After exchanging a brief conversation with Chadwick, you need to find and talk to Clockie.
- Clockie will reveal that Chadwick is no ordinary old man and he is missing an emotion or memory.
- Go to the Family’s Construction Authority and Absorb Emotions to gain angry gear.
- Head back to Chadwick and activate his clockwork by using the angry gear. This will evoke a segment of lost memories of Chadwick and he will tell you about the time he was part of the Genius Society.
2. Meet Herta and Screwllum
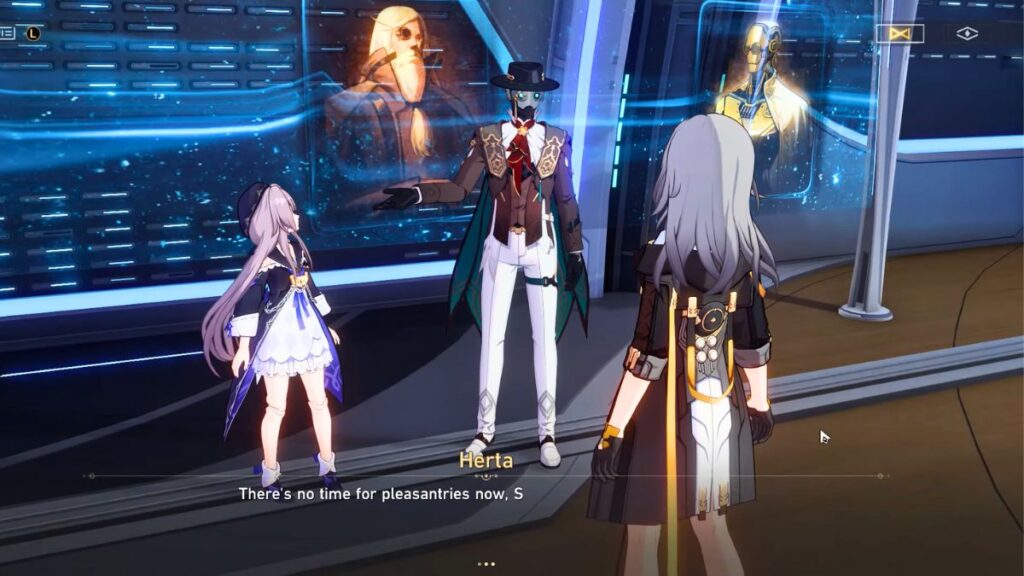

- Once you have conversed with Chadwick, you will receive a message from Herta inquiring about the exchange.
- Chadwick’s Emo Dial will freeze and lock once again.
- After this, teleport to Herta’s Office and converse with Herta and Screwllum. The conversation will be concluded with Screwllum deciding to accompany you to The Reverie for further investigation.
3. Visit The Reverie with Screwllum
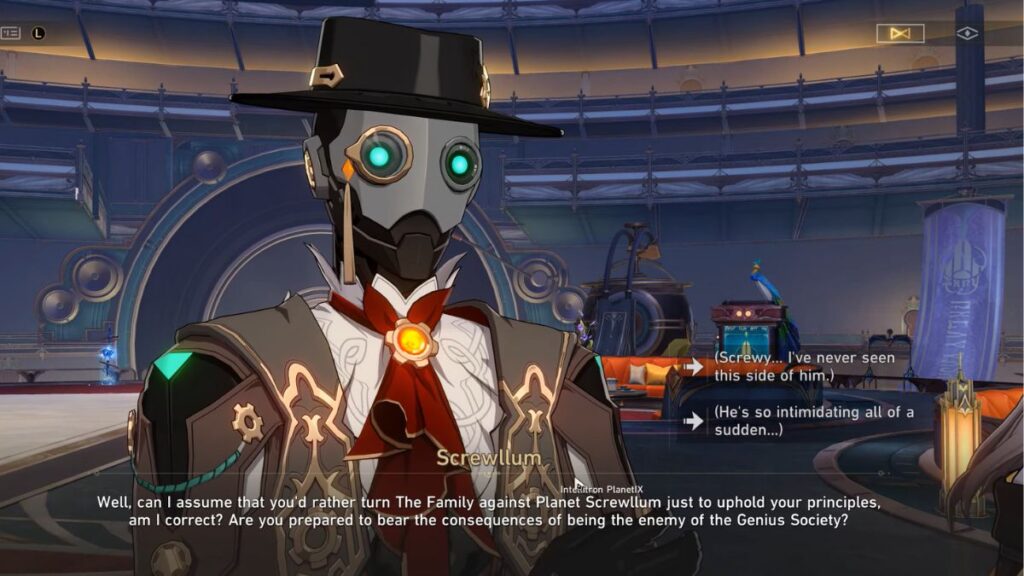

- Take the Space Anchor in Hotel Lobby to reach The Reverie.
- Head towards the reception and you will be stopped to visit Mr. Chadwick by Alley. Screwllum will take over the conversation. And since his name is under the VIP List, you will be allowed to visit Chadwick.
Related: Crystal Chalice Puzzle Guide
4. Go to The VIP Lounge to Visit Chadwick
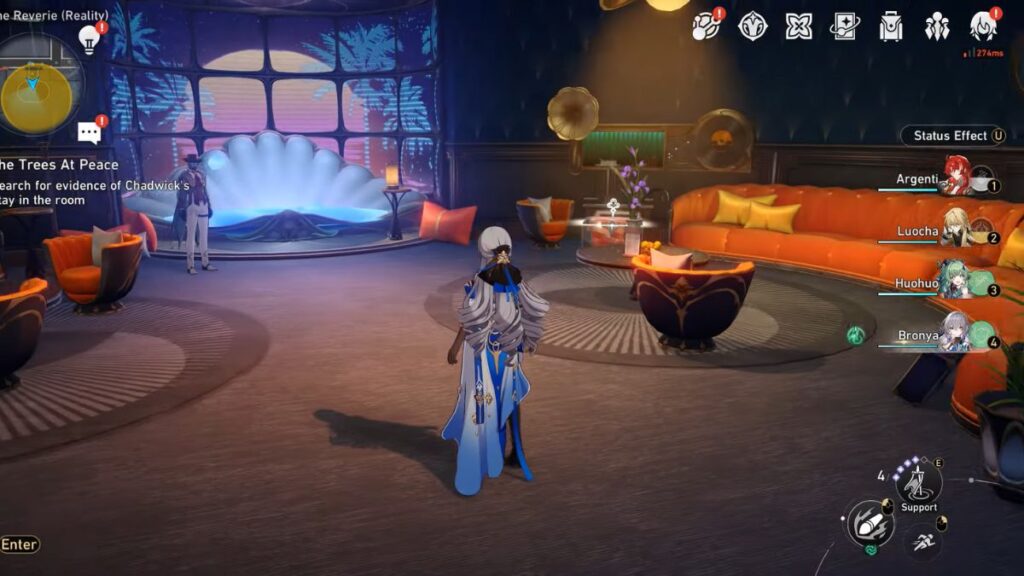

- Teleport to VIP Lounge. You will find Moira guarding a room. This is your area of interest.
- Talk to Moira and after Screwllum’s persuasion, she will let you enter the room.
- You need to look for hidden clues in the room. You will find random clues in the suitcase, dream pool, and the fireplace. After investigating these spots, head towards Screwllum.
- Upon this, Screwllum will hand you Medicine of Unknown Use and point you toward a dream bubble. While you enter the dream bubble, Screwllum will part ways to negotiate with the Upper Echelons of the Bloodhound Family.
5. Enter Chadwick’s Emoscape
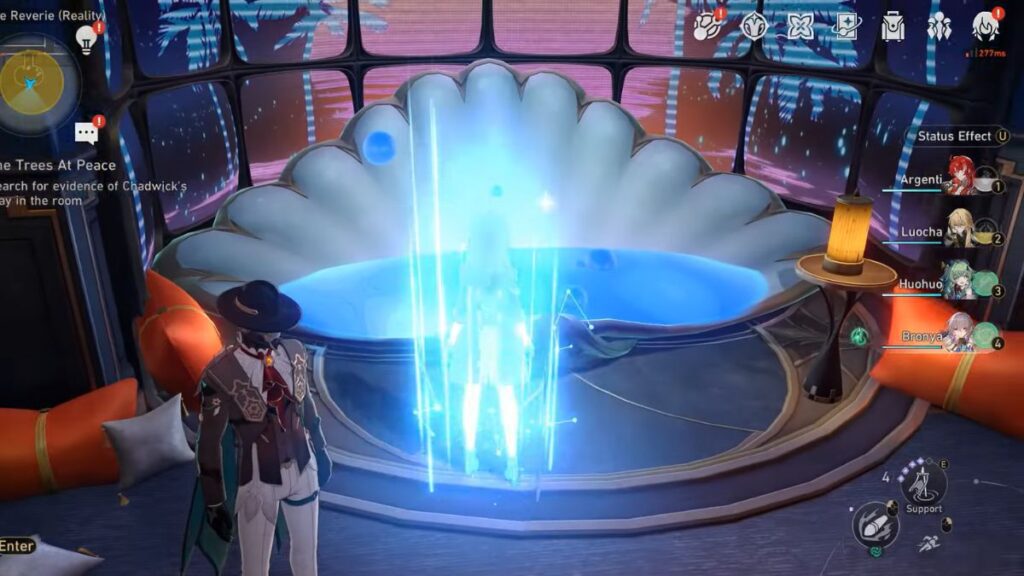

- Teleport to Dream’s Edge and you will find Chadwick admiring the view of the city.
- After sharing a conversation with Chadwick, hand him the medicine from Screwllum.
- Now to Chadwick’s Emoscape and Unlock the Emo Dial.
- After setting up a team (preferably Ice, Fire, and Physical Attack-style characters), click on Start Challenge. You will reach a corridor with a memory of Young Chadwick being narrated in front of you.
- As you follow young Chadwick and his associates, you will have to engage in fights with Juveline Sting and Gnaw Sting
- By following Chadwick and other researchers, you will get to enter a Research Lab.
6. Detonating the Pulse

- Head downstairs and catch up to Chadwick. Screwllum will warn Chadwick about the repercussions of using the Pulse.
- As you overhear a concerned conversation amongst the scientists, follow the waypoints. You will be ambushed and attacked by The Security Personnel, Grunt.
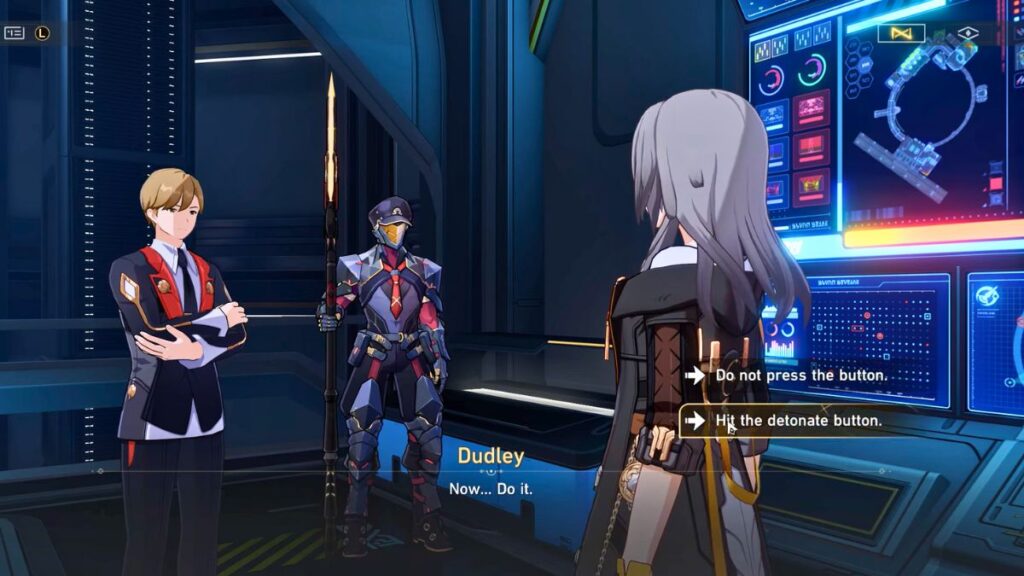
- After defeating Grunt, catch up to Chadwick once again. Dudley will try to convince Chadwick to use the Pulse, not caring about the consequences.
- Before Dudley explodes the Pulse, run and take over the Control System.
- Dudley will nudge Chadwick to detonate the bomb.
- You will receive two options here. Do not press the button and Hit the detonate button.
- For the most reliable results, pick Do not press the button the first time.
- The options will reappear and this time you have to choose Hit the detonate button. If you do not choose this option the second time, your mission progress will be lost.
7. Chadwick’s Emoscape
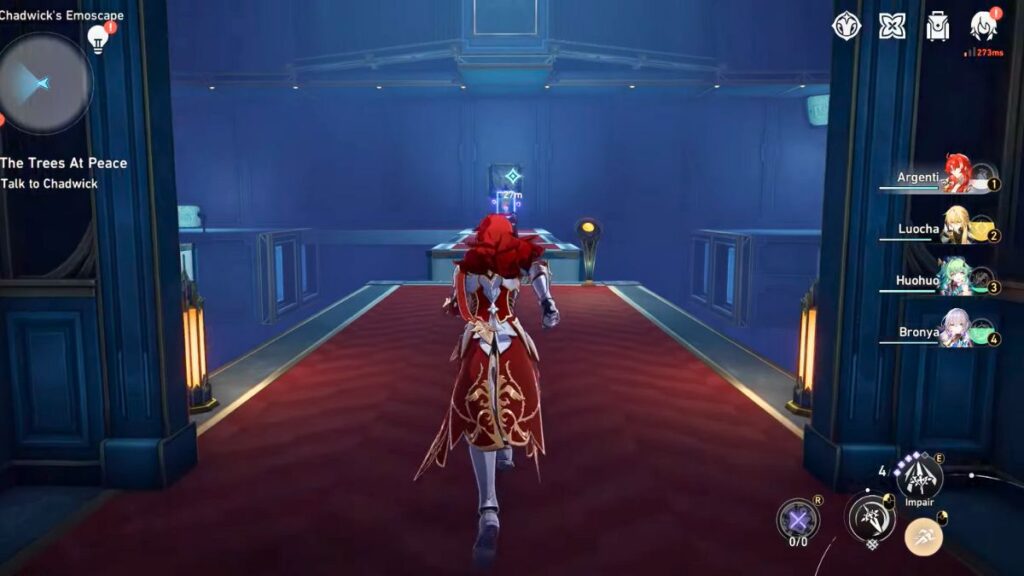

- As you reach the Emoscape you will notice a distorted obstruction in your path.
- Press the yellow button and it will turn green and the distorted path will get fixed.
- You will find Chadwick here and he will share his state of mind with you. He will mention his intentions to rebel against IPC and not contribute to the Impulse Bomb Research.
8. Screwllum’s Dreamscape Puzzle
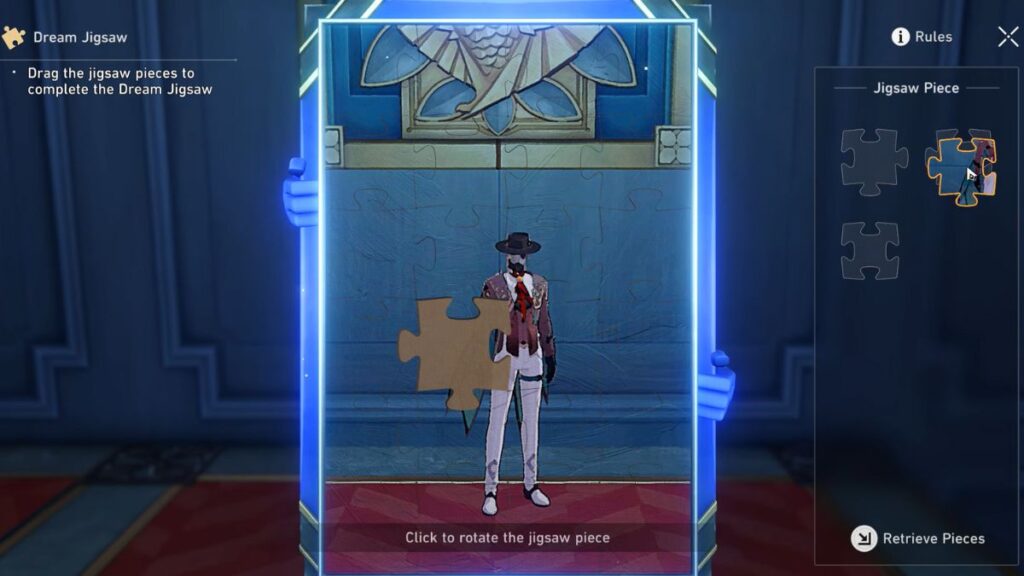

- To activate Screwllum’s Puzzle, you will need to find three missing pieces of the puzzle.
- Head left and turn towards the Yellow button. Click on it to make the levitating platform settle down.
- Click on the bubble charge towards your left and continue exploring forward. You will have to climb a bunch of walls before you reach the center column. Collect the puzzle piece from here.
- Head back for bubble charge and come back to the same spot. Pass by the Guard, and climb up the stairs to fetch the second puzzle piece.
- After hearing the Voice of The Mind, head down and retrieve the bubble charge. Continue forward, then take left from the guard, then right. Climb the wall in the corner to retrieve the third and final piece of the puzzle.
- Regularly retrieve the bubble recharge and head back to the Puzzle.
- Place the missing pieces on the Dream Jigsaw puzzle and rotate them to complete the picture of Screwllum.
- Upon, clearing this puzzle, Screwllum will appear in front of Chadwick.
9. Head to Chadwick’s Emoscape
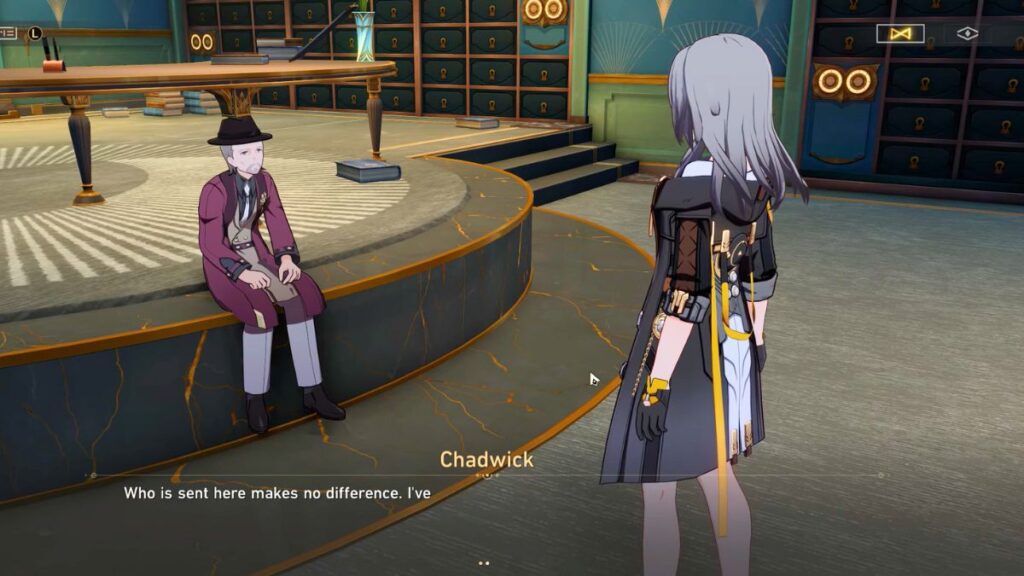

- Talk with Chadwick who is under house arrest in his office and start investigating around.
- You will collect letters from the books lying on the office table, a bunch of books lying around, and the lockers.
- After finding the letters, talk to Chadwick once again. Screwllum will appear right after and reassure Chadwick about everything that happened in the past.
- This conversation will fix Chadwick’s Emo Dial.
- Help Chadwick and take him out of the office with you.
10. Head to Seclusion Zone
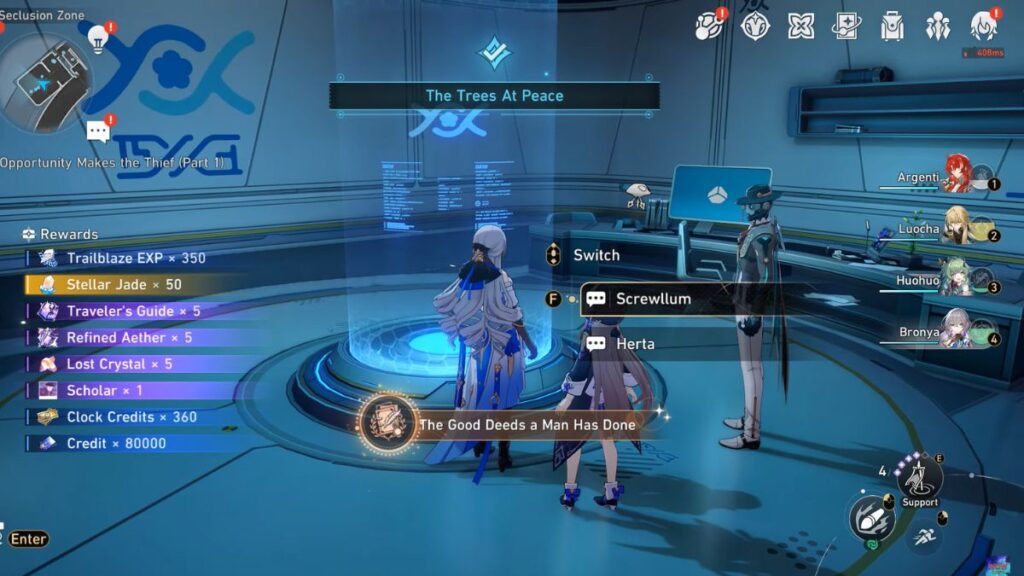

- After exiting the dreamscape, you will receive a message from Screwllum thanking you for your efforts.
- Accept his invitation to join him and Herta in the Seclusion Zone.
- Teleport to Herta’s Space Station and go towards the Seclusion Zone. Head up the stairs and join Screwllum and Herta.
- After sharing a conversation with the two, head towards the glass door and deactivate all three life-sustaining systems.
- Collect the Title ‘The Good Dead a Man Has Done’ and the rewards for completing The Trees at Peace mission in Honkai Star Rail.
Mission Rewards: 80000 x Credit, 360 x Clock Credits, 1 x Scholar, 5 x Lost Crystal, 5 x Refined Aether, 5 x Traveler’s Guide, 50 x Stellar Jade, 350 x Trailblaze EXP

