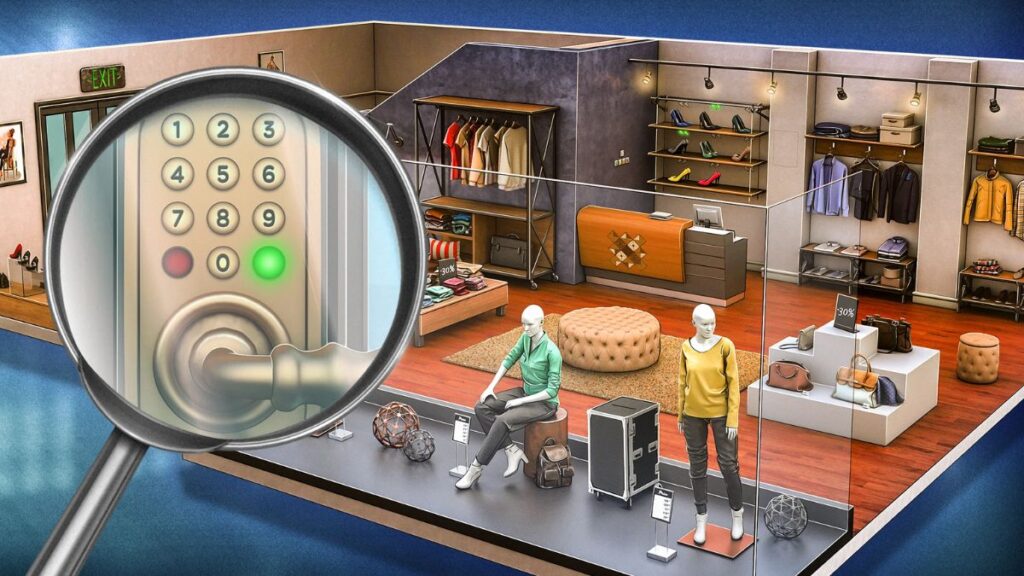
You can always count on Rooms and Exits to put you on with a challenging puzzle. And Chapter 1 Level 20 (Fashion Store) is certainly no exception. At this level, you need a keen eye to escape a fashion store by using various interactive objects available to you. The wooden puzzles, the mannequin arrangement puzzle, and the heel rack puzzle are the most tricky parts of this level.
How to Solve Rooms and Exits Fashion Store Level
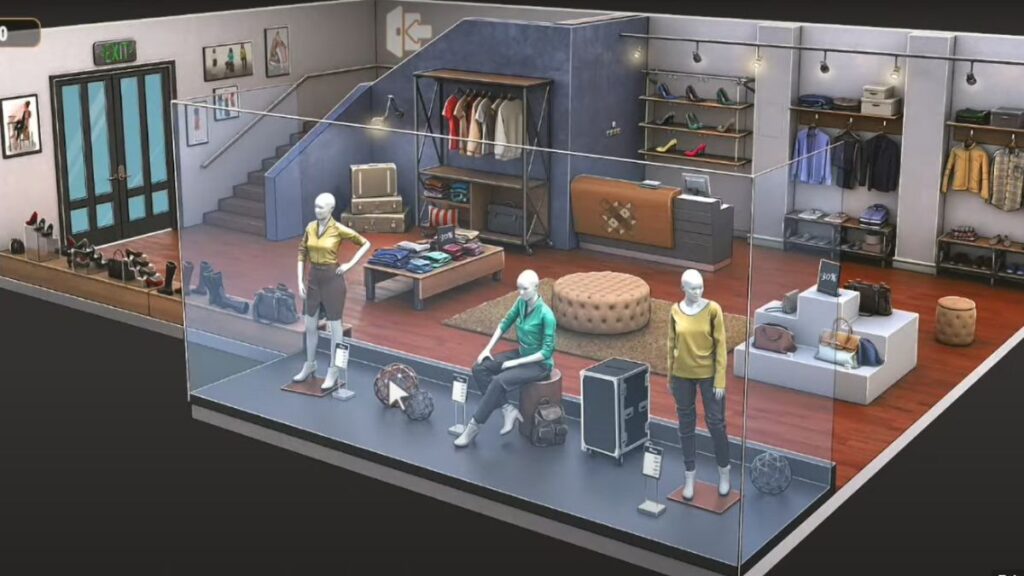

- Click on the white and brown purse which is resting on the white item stand on the extreme right.
- Now click on your inventory bag and Dismantle the purse, and you will retrieve a blue & white scarf.
- Exit the inventory and reach out to the Suit Rack (Right to the shoe section). You should be able to get a closer look at the section after doing so.

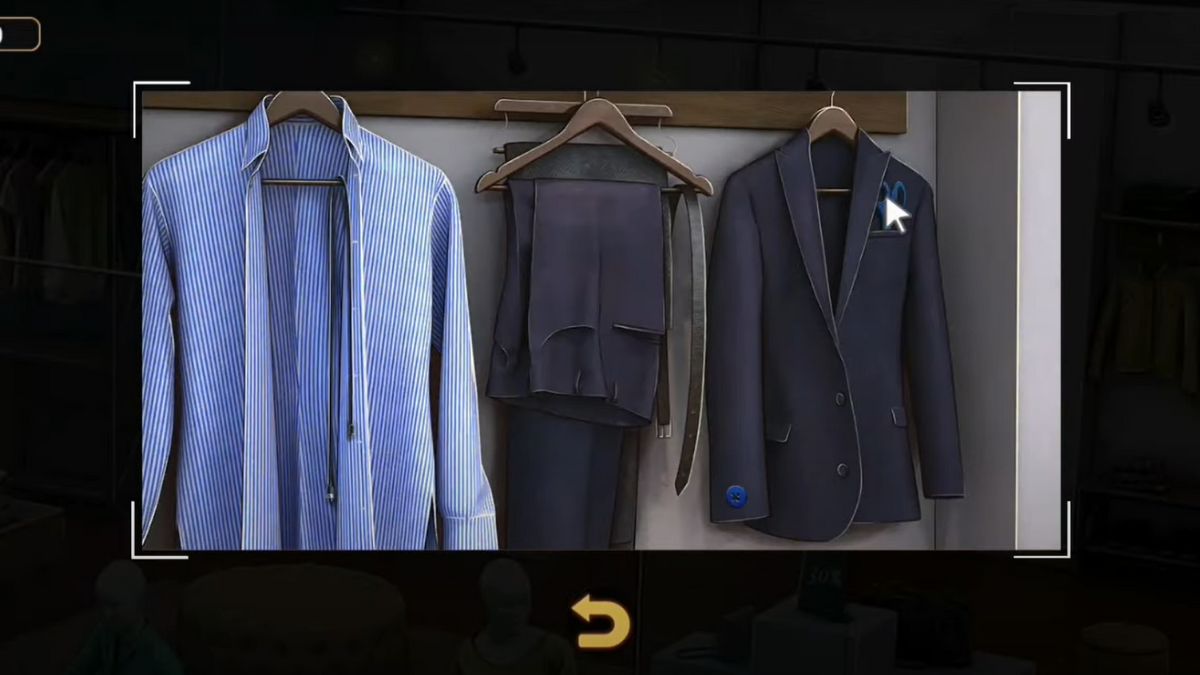
- Click on the wire that is hanging from the stripped blue shirt (extreme left).
- Click on the Blazer (extreme right) to retrieve a pair of scissors.
- Go to the inventory and use these same scissors to cut out the odd blue button from the blazer.
- Visit the cash register section and click on the yellow button that is resting on the magazines.


- Go upstairs, and click on the bit of paper lying below the white stool.
- Visit the first changing room and you will be able to fetch a hat from here.
- Carefully look at the four stripped cushions resting at the lower part of the cloth stand. These hide the code for the color-coded wooden box resting higher on the same stand.
- To solve this puzzle, you need to pay attention to the colors and the number of stripes on these cushions. You also need to consider a red and white cushion (downstairs) to figure out the final code.

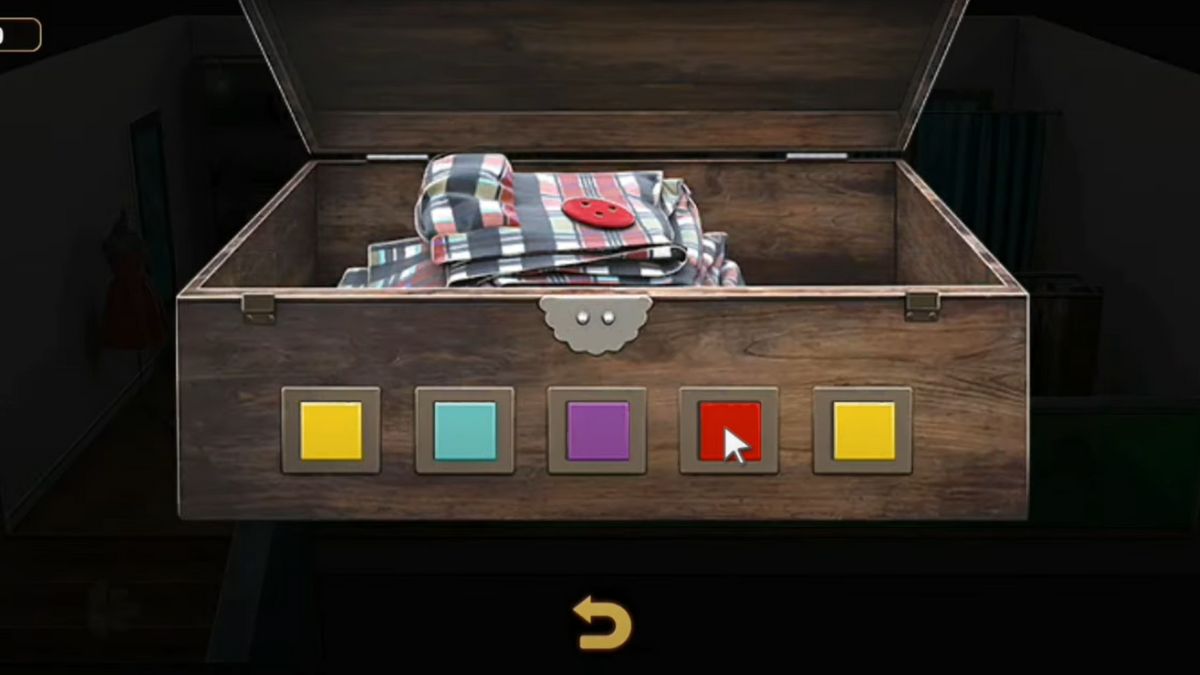
- The final color code by solving this puzzle will be Yellow, Cyan, Purple, Red, Yellow, and Voila you will get a red button out from the wooden box.
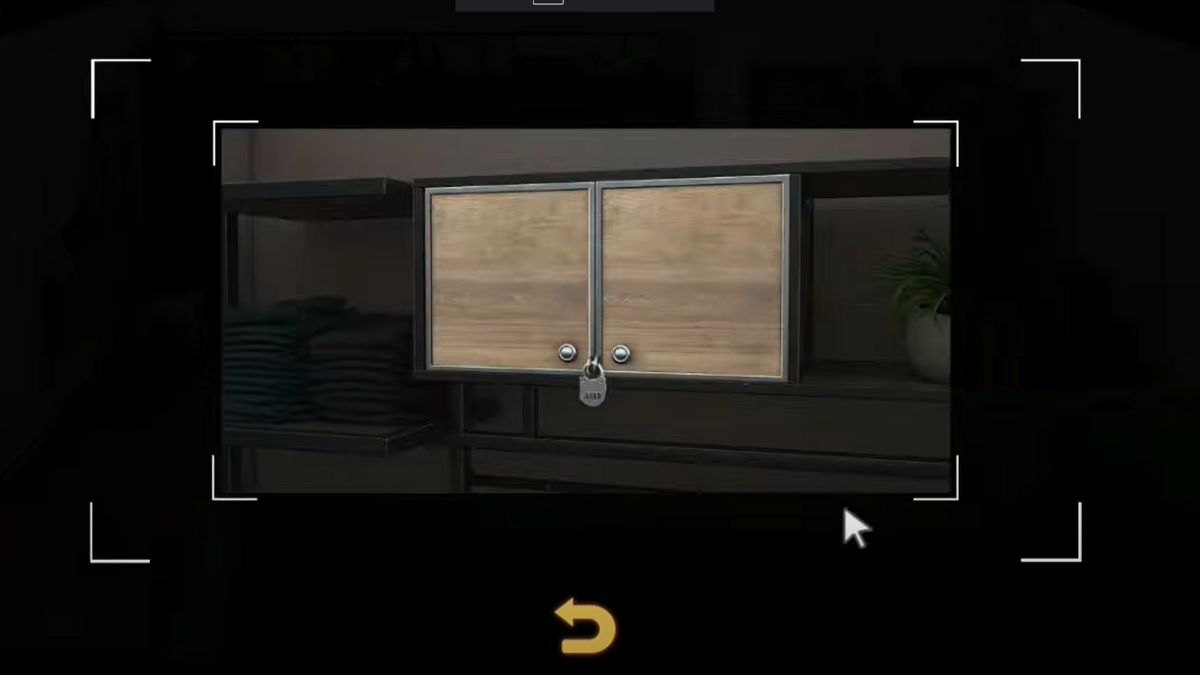
- Now move on to the locked wooden compartment at the top of the same stand. You need a 4-digit number code to unlock this one.
- The answer to this puzzle is hidden downstairs, near the stairs, you will spot four portraits. Observe the accessories the models are wearing in these portraits.
- Now, go to the mannequin area and add the missing accessories that you spotted in the portraits. These are the blue scarf on the left mannequin, the hat on the middle one, and finally the white and brown purse on the third mannequin.

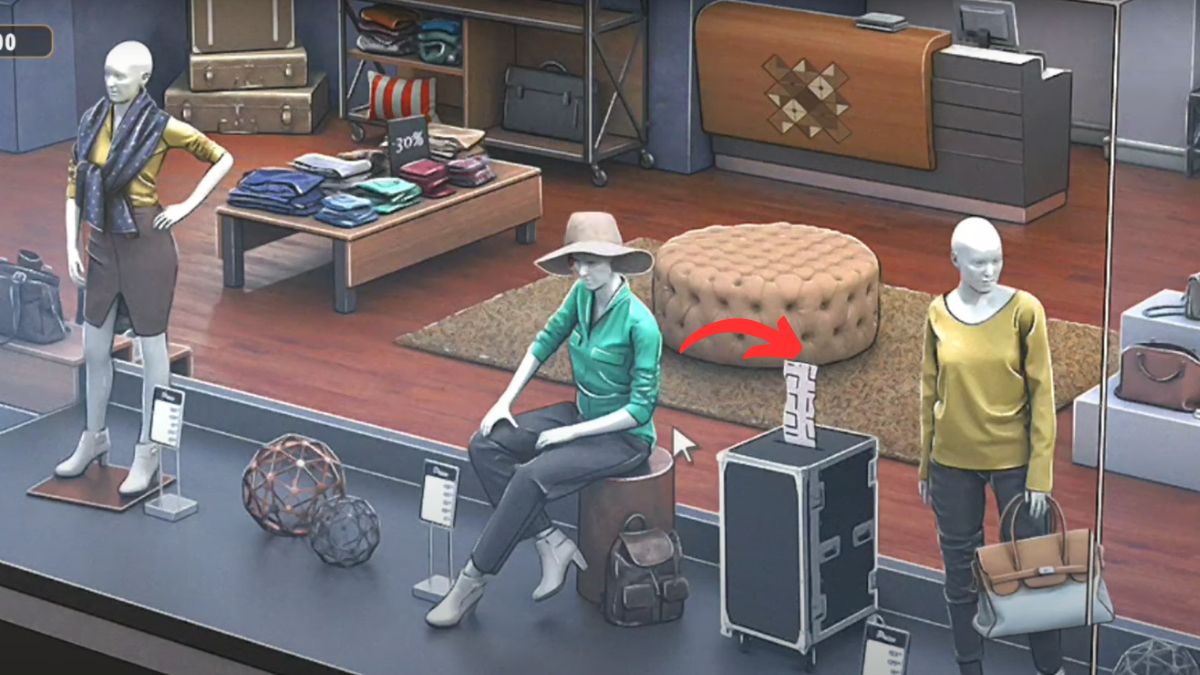
- After doing this, a piece of paper will roll out of the suitcase in this same section.

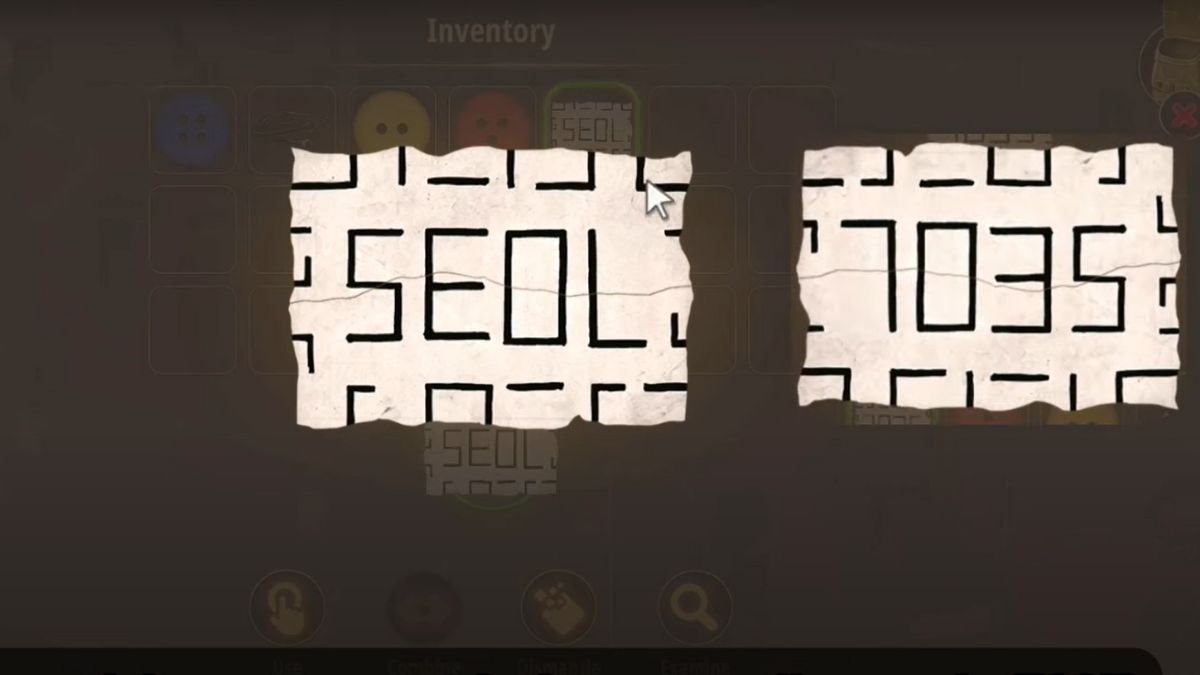
- Go to the inventory and combine this piece with the one you found upstairs below the white stool. After doing so you will see SEOL on one paper and 7035 on the other. This is your code for the locked wooden compartment.

- Head upstairs and type this code on the numbered lock. You will retrieve three items from this compartment: A pair of heels, a green button, and a four-cornered tile piece.
- Go downstairs and click on the Heels stand, place the heels you found upstairs in the empty spot.
- Now, click on the brown area on the front desk and you will come across a puzzle, place the tile that you found upstairs and the puzzle will activate.
- The puzzle is pretty simple, you just need to shuffle the top right tile two times so that you get a checkered design on the puzzle.

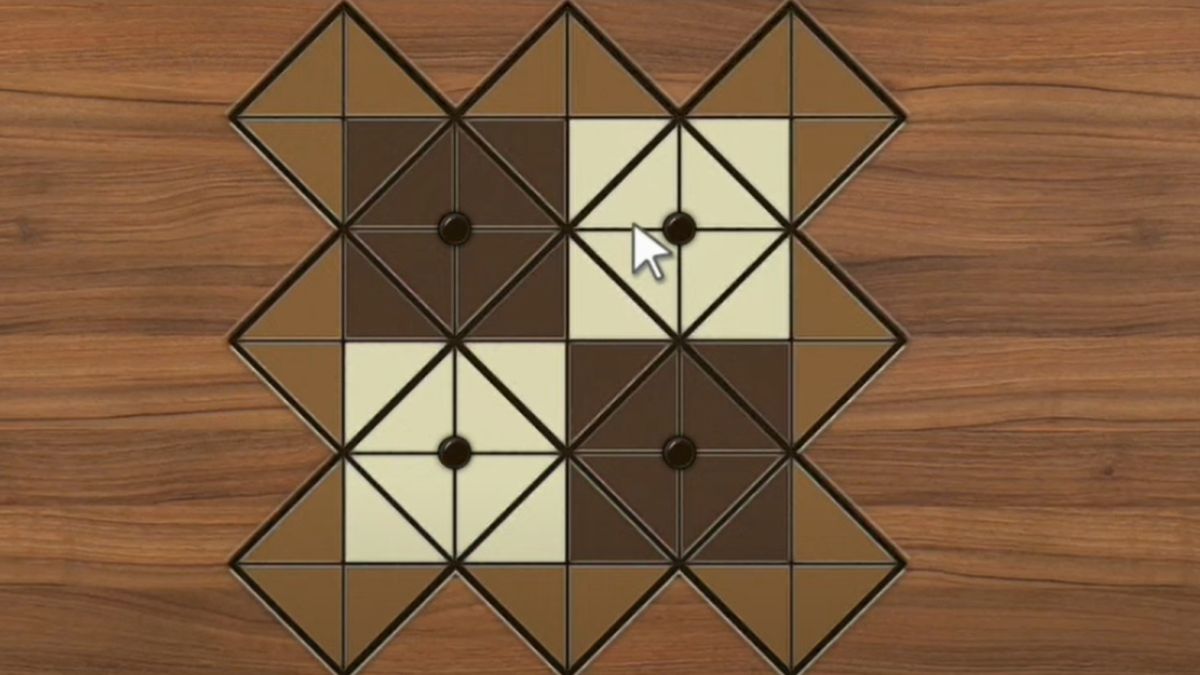
- You will get a price checker for solving this puzzle.
- Go to the cash register combine the Wire and Price Checker and connect it to the system.
- Now, go to the heels section, in the bottom left corner you will find a switchboard-like pattern on the wall. Click on it and place all the four buttons in the empty colored slots.
- Don’t let the colors trick you here. The correct order to place these buttons is according to the number of holes present in the buttons. So the combination is 1234 (Green, Yellow, Red, and Blue). Click on the little switch above the box.
- Now, you need to arrange the heels in a manner that all the green switches turn on. You will need to shuffle them individually until you reach the correct arrangement.


- Now a secret compartment will open up and you will get a piece of paper with 363,99 as the total.
- Head back to the cash register and type this value and do not forget to type the comma. Click on Enter and a permanent receipt will print out.


- Now, use the price scanner on this receipt and the cash register drawer will open up.
- Click on the piece of paper, in the extreme left compartment of the drawer that carries the code to the main door, which is 30015.

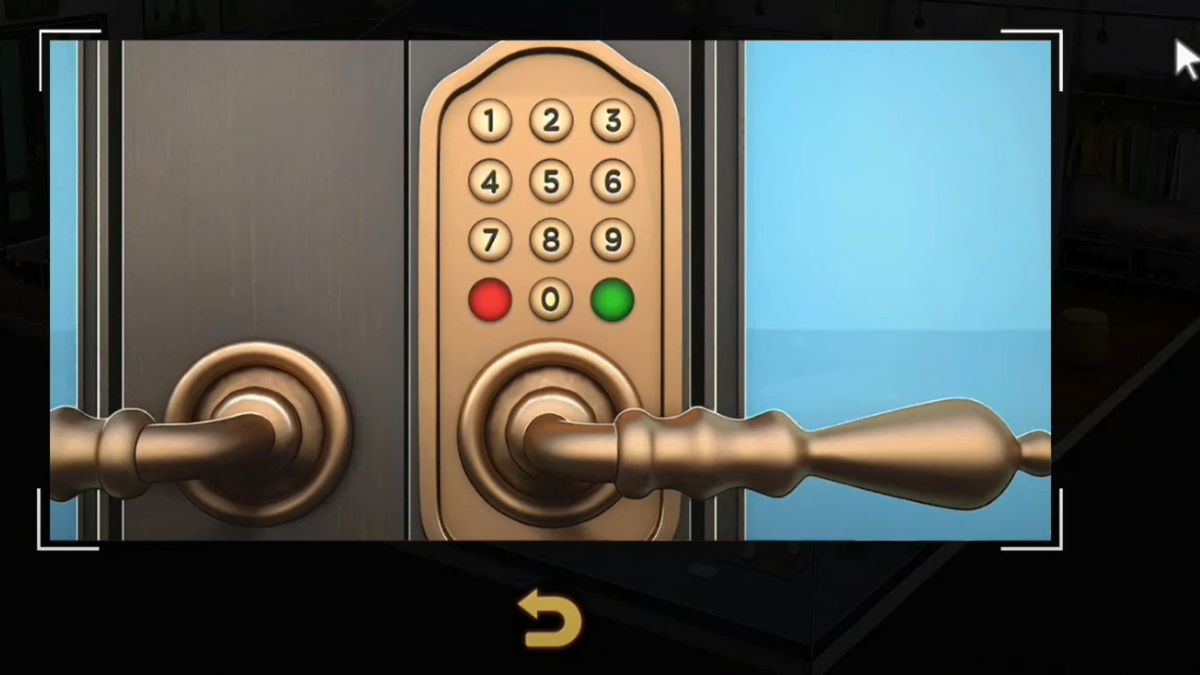
- And that’s it, you have made it to the next round.

