Rooms and Exits increase the difficulty rather slowly. Level 9 of Chapter 1 is a simple round that takes place in an Optical Store. There are only two main puzzles to tackle here, the spectacle arrangement puzzle and the corrective lens code puzzle. The area of interest is quite limited and you can easily navigate out of this level in under four minutes.
How to Solve Rooms and Exits Optical Store Level
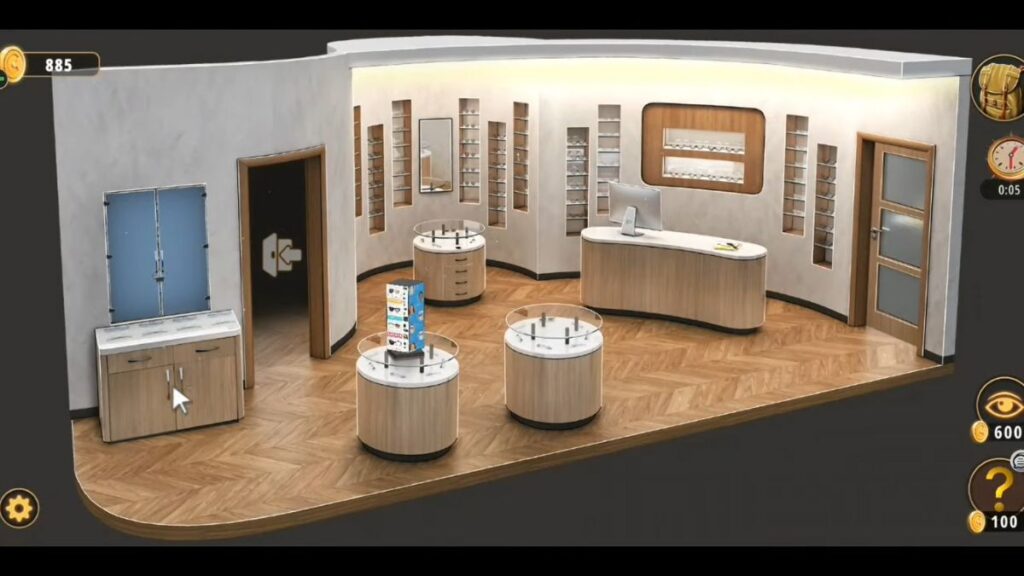

- Start exploring from the left side of the optical store. Click on the right drawer to the cabinet to retrieve a correction glass of 1.75 power. There is also a blue colored shelf here but it is locked.
- On the lower shelf of the same cabinet, you will find a pair of glasses.
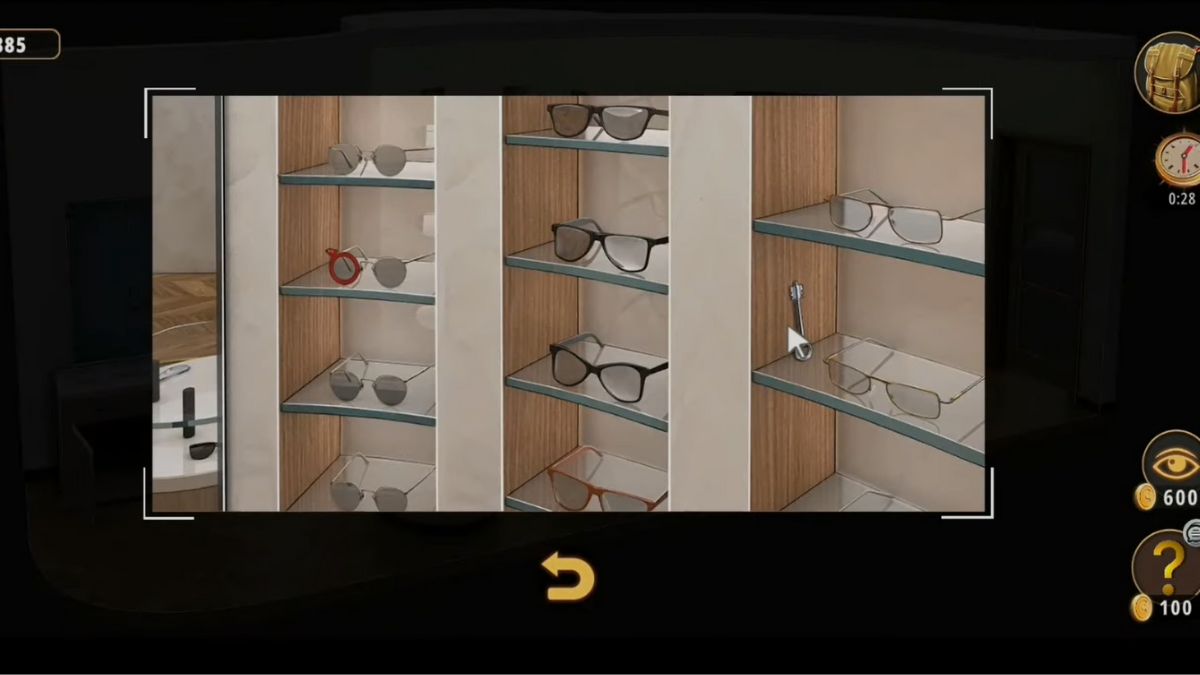
- Now, navigate the wall-carved shelf (right from the mirror) and you will find a key. If you look carefully, you will find a red-colored corrective lens of 0.75 power hiding in a pair of glasses.

- Go back to the blue-colored shelf and use the key to unlock it. There is a massive collection of eyeglasses inside but a few spots are missing. Place the spectacles you have in your inventory here. This will activate the puzzle.

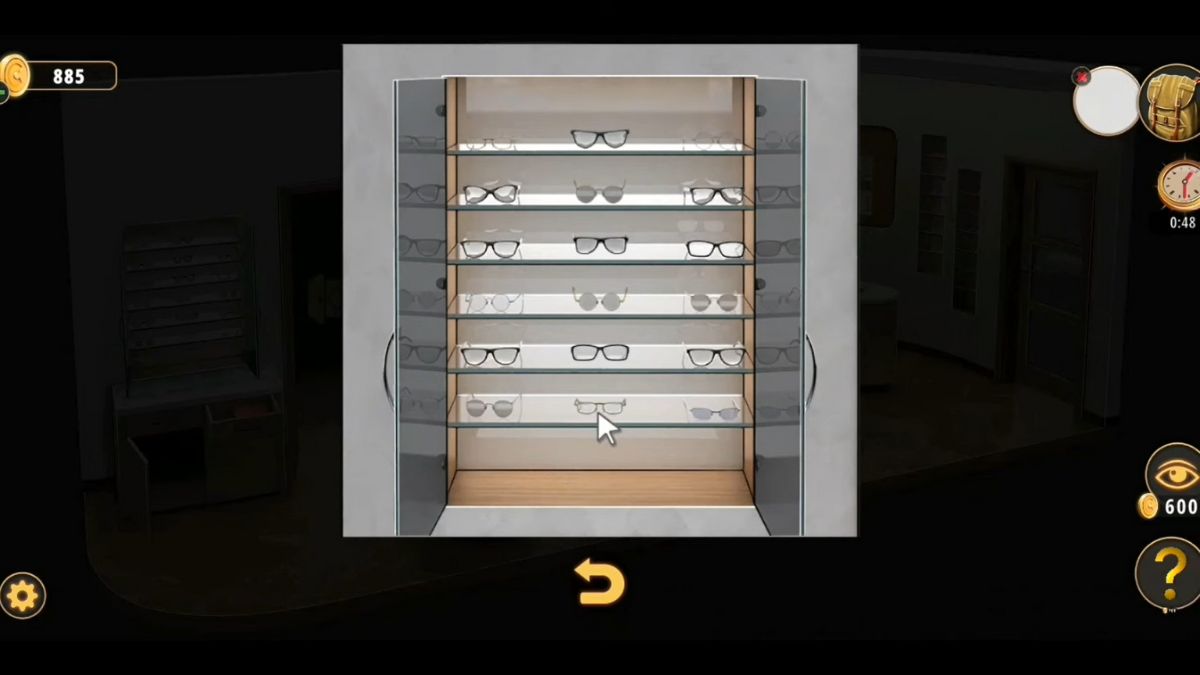
- To solve the eyeglasses puzzle, you need to arrange the spectacles in a certain order.

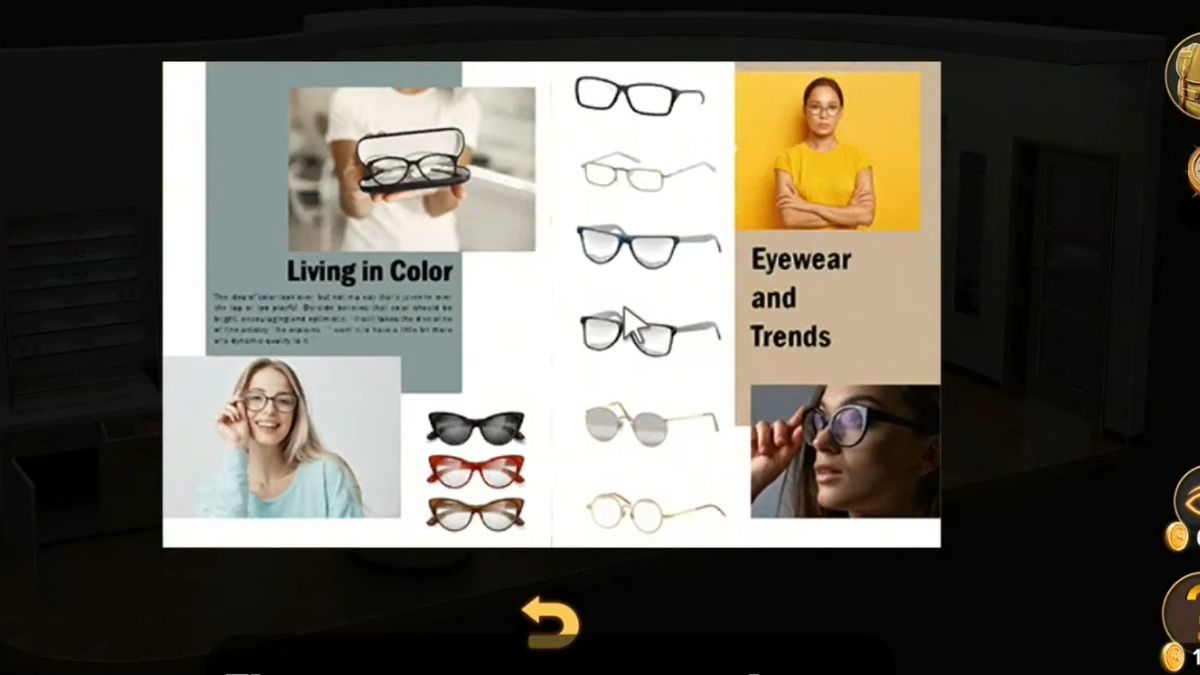
- Click on the magazine at the check-out desk to find out the correct sequence of the puzzle. You will get the tag with code 68459 on clearing the puzzle.

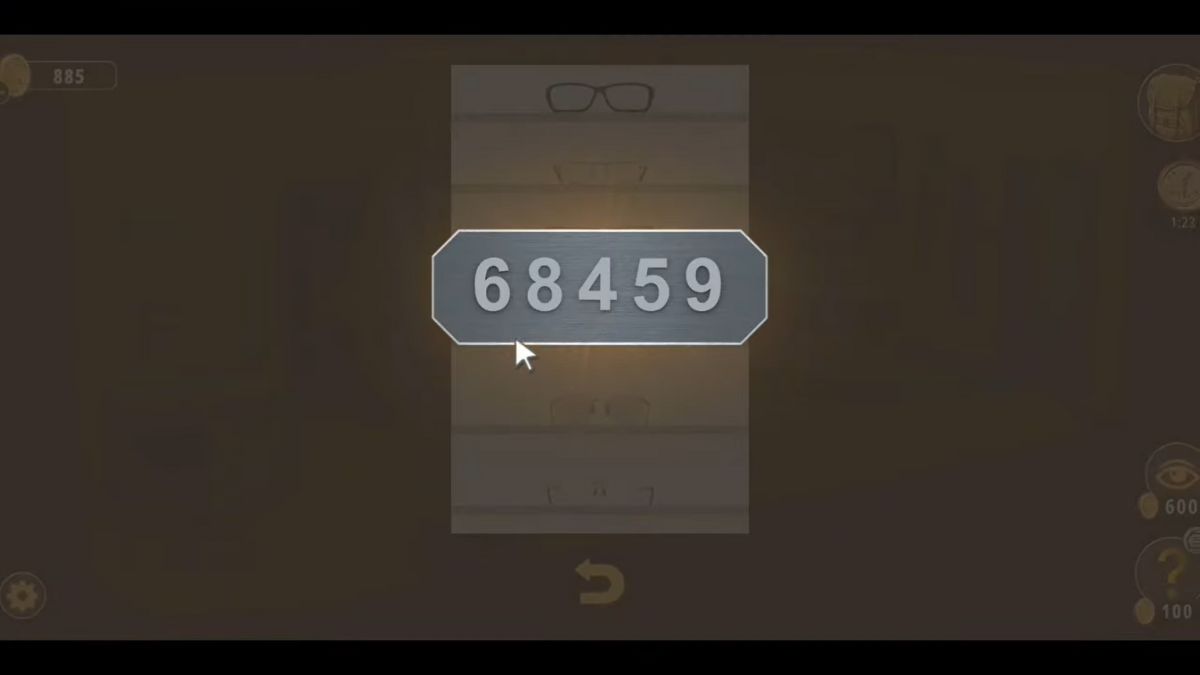
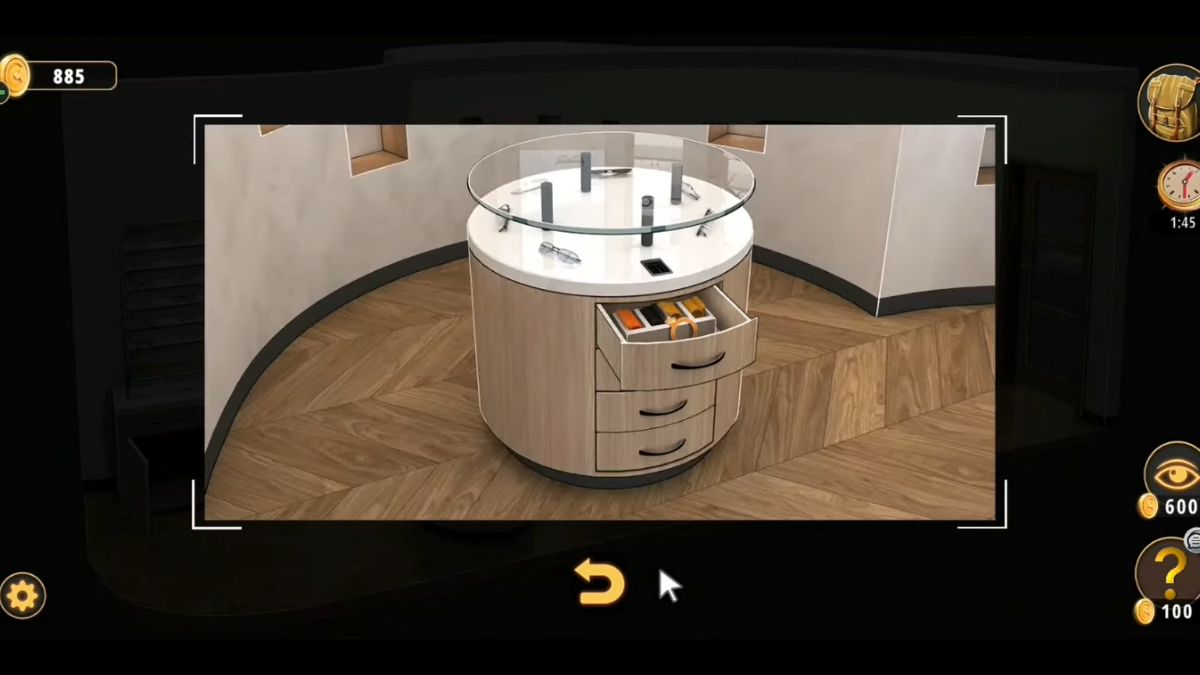
- Go to the circular display table which is in the front of the mirror and you will find a digital lock on it. Type the code to unlock the first drawer of the table. You will find another corrective lens here.

- Enter the other room and grab the yellow-colored prescription from the shelf on the right.

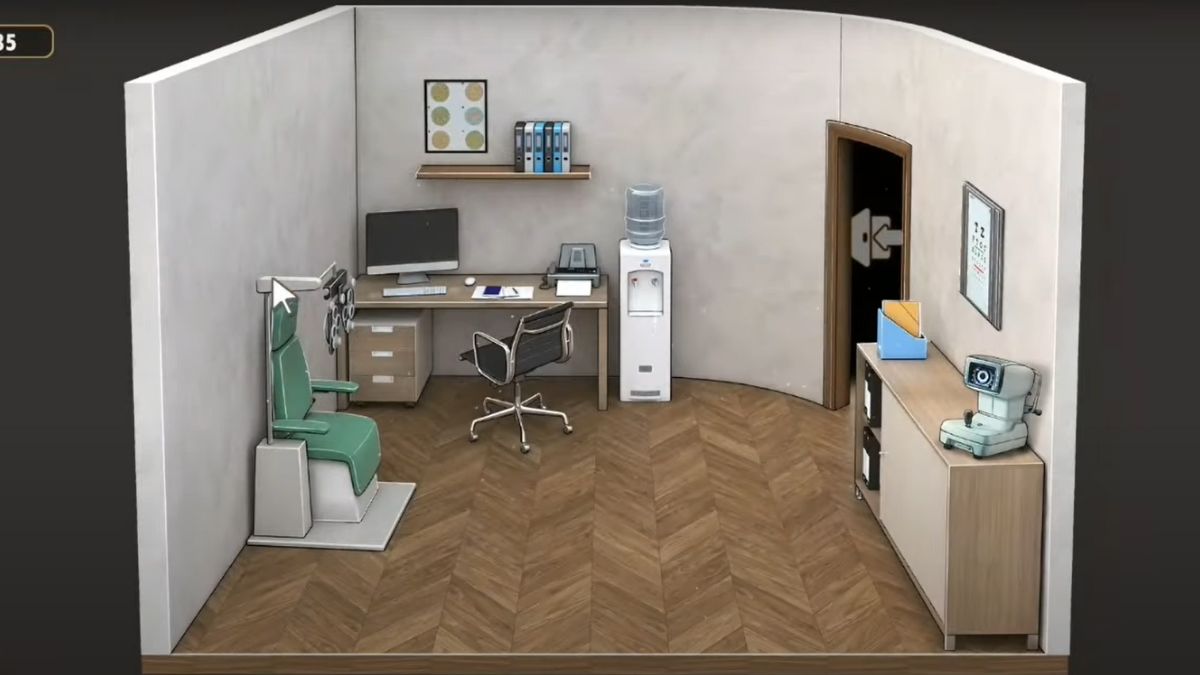
- From the drawer of the computer table, you will retrieve another corrective lens.
- Now click on the optical eyesight machine by the green chair. A blurry image will appear on it. Place all four corrective lenses here. Use the prescription as a reference. You need to place -2.50 and 0.75 power lenses on the left side and -1.25 and 1.75 lenses on the right side. This will reveal a code TOD.

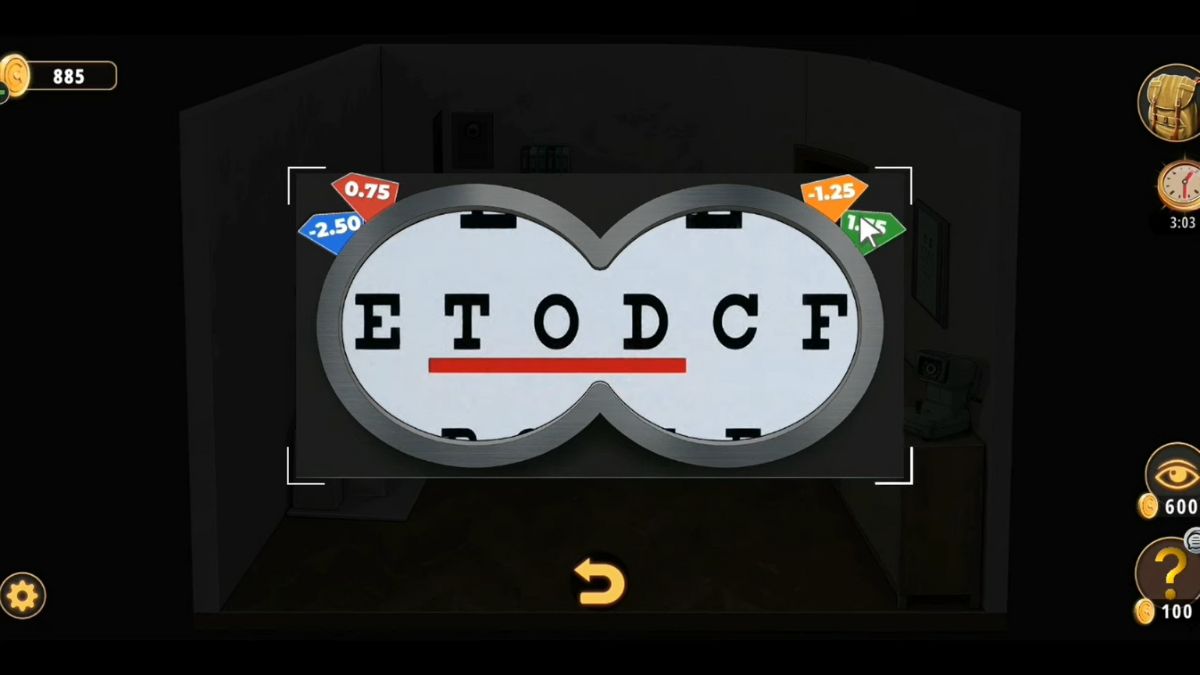
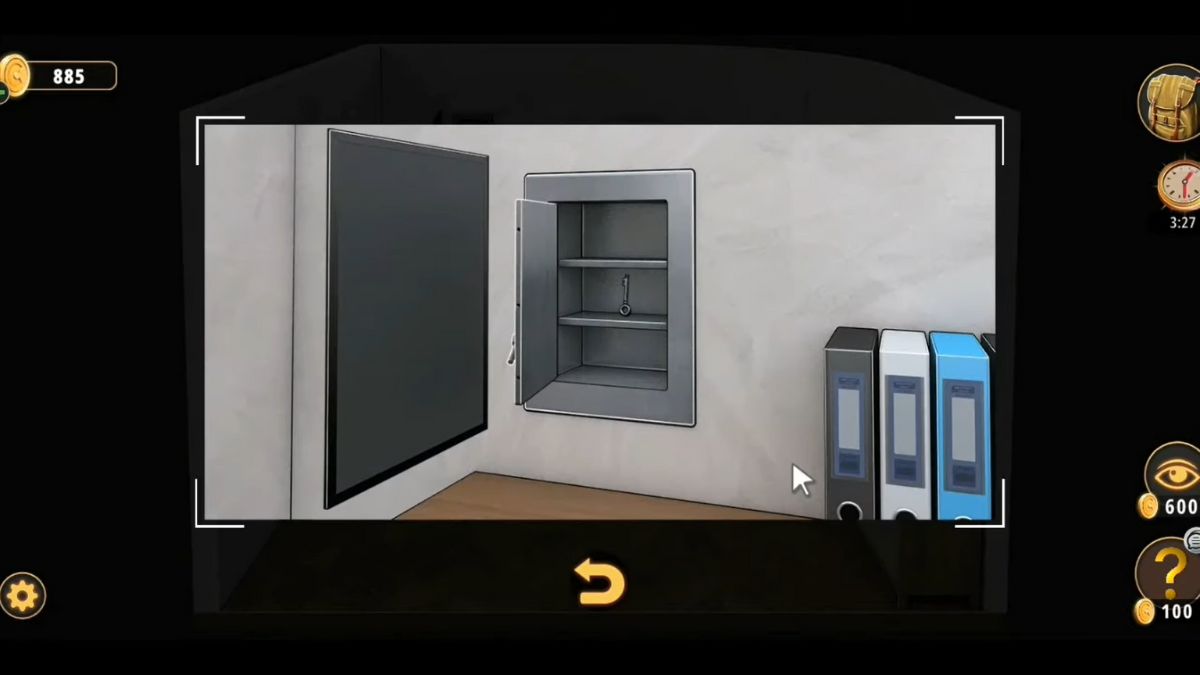
- Above the computer table, you will find a scientific portrait, there is a wall safe behind it. Use TOD to unlock it. You will retrieve the key to the escape door.

- Go back to the main area and use the key on the door to the right to unlock it. And that’s the end of the Rooms and Exits Optical Store level.

